I Changed the Way I Write AI Image Prompts, and This Is What Happened
Steal These "God-Mode" Prompts
Ditha Puspani
12/2/20253 min read
I see this happen all the time.
You sign up for a new AI image generator.
You’ve seen the amazing, photorealistic stuff other people are posting.
So you sit down, excited to try it.
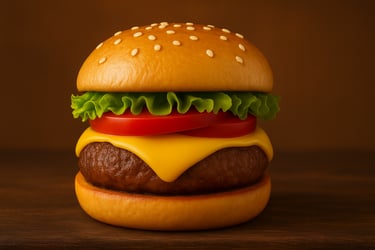
You type in: “A delicious burger.”
And you wait.
Then… you get a cartoon.
Or worse, you get something that looks like plastic.
The cheese looks like yellow play-doh. The lighting is flat.
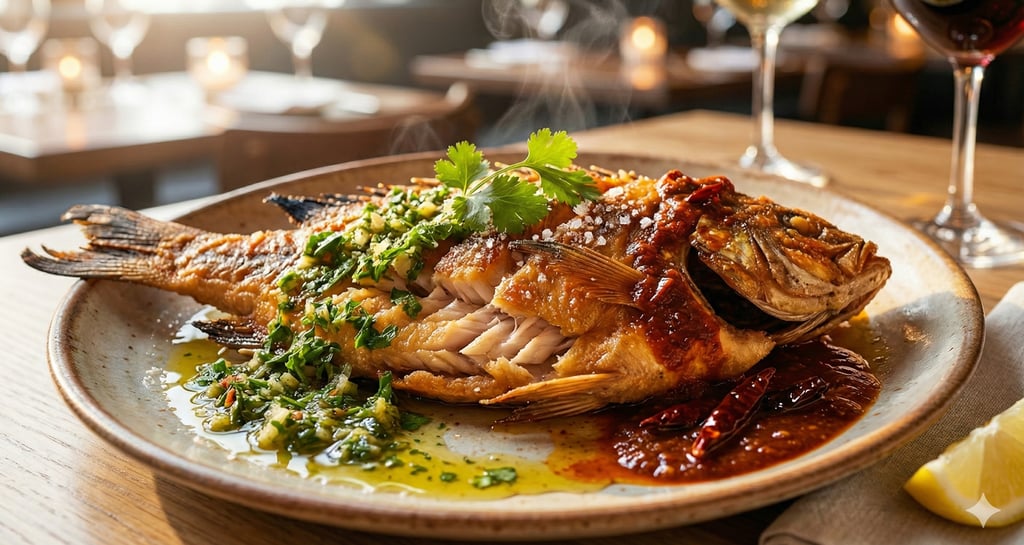
It looks like I hired a photographer and a food stylist.
But it took me about 45 seconds.
That’s the "secret."
You don't need a $5,000 camera, perfect lighting, or a photography degree to shoot a perfect photo.
Give these 5 AI principles a try next time you create an image.
You’ll see the difference immediately.

It just looks fake.
I used to have the same problem.
I thought maybe the "pros" were using a different version of the software than I was.
But they weren't.
I found out they were just talking to the AI differently.
It turns out, AI is a lot like a contractor.
If you give vague instructions, you get a vague result.
But if you give specific instructions, you get exactly what you want.
So I stopped trying to "guess" the right words.
Instead, I built a simple checklist.
I call it C.L.A.S.P.
I use it every single time I write a prompt.
It’s working very well.
My images went from looking like "AI Art" to looking like high-end photographs.
And I’m not doing anything technical.
I’m just making sure I hit these 5 specific points.
Here is how it works:
C = Camera
This is the one everyone forgets.
If you don’t tell the AI which camera lens to use, it guesses.
And it usually guesses wrong.
So I tell it exactly what I want.
If I’m shooting food, I tell it to use a "Macro Lens" or an "85mm Lens."
You need to force it to simulate real glass.
For Portraits: Specify an "85mm lens" (flattering, zoomed in).
For Landscapes: Specify a "16mm wide-angle lens."
For Details (Food/Products): Specify "Macro lens" or "100mm."
Pro Tip: Add phrases like "Depth of field" or "Bokeh" to blur the background. This instantly makes an image look expensive.
L = Lighting
Bad lighting makes food look cold.
Great lighting makes it look hot.
I never just say "lighting."
I say "Golden Hour" if I want it warm.
Or I say "Cinematic Lighting" if I want it dramatic.
This is what triggers the appetite.
Another example is "Volumetrics" (hazy/steamy), "Softbox lighting" (studio clean).
A = Atmosphere
Context is everything.
A burger floating in white space is boring.
A burger on a "rustic wooden table" in a "busy kitchen" tells a story.
I always give the AI a background; I describe the air around it.
For example: "Dust particles dancing in the light," "Crowded rainy street," "Rustic wooden table," "Cyberpunk neon haze."
S = Subject
This is the easy part. It's the thing you are taking a picture of.
But here is the trick:
Don't just name the food. Describe the texture.
Instead of "Steak," try: "Charred ribeye steak with glistening fat and coarse salt crystals."
Instead of "Woman," try: "Portrait of a woman with freckled skin texture and wind-swept hair."
The AI needs to know how it feels.
P = Presentation
This is the final polish.
I tell the AI what style I want.
"8k resolution."
"Food Magazine Style."
"Hyper-realistic."
"National Geographic style."
"High-speed photography."
Here is the difference it makes.
Most people write a prompt like this:
“A photo of a bowl of ramen.”
And they get a clip-art bowl of soup.
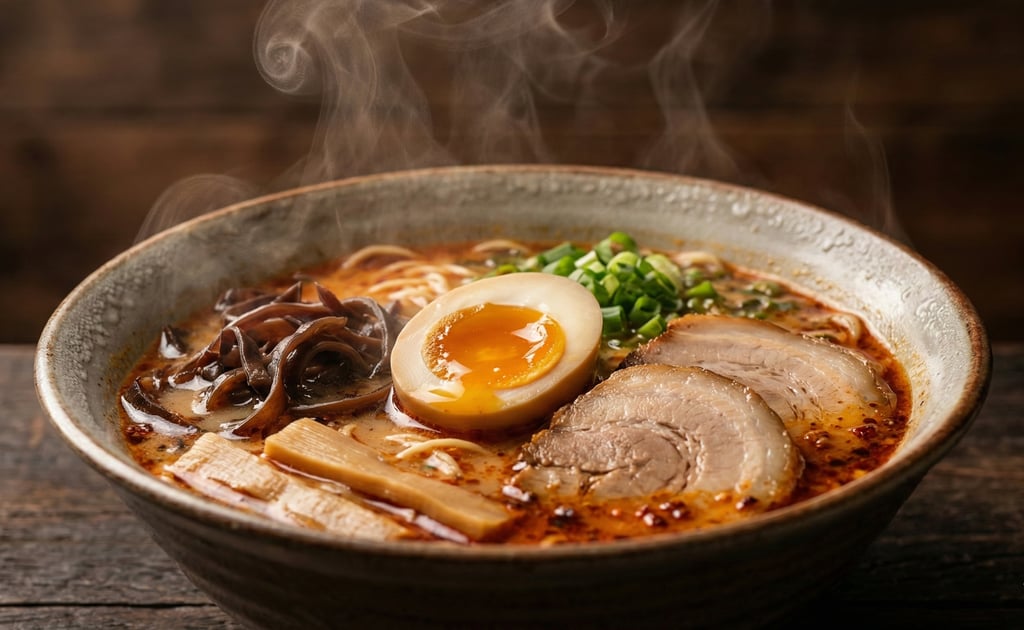
But when I use C.L.A.S.P., I write this:
“Shot on Sony A7R IV with a 100mm macro lens (Camera). Soft cinematic lighting highlighting the steam (Lighting). Dark rustic wood table background (Atmosphere). Spicy Tonkotsu ramen with a soft-boiled egg and jammy yolk (Subject). 8k resolution, hyper-realistic (Presentation).”
The result?
You get a steaming, mouth-watering image where you can actually see the texture of the pork.